A Joint Between Two Trades
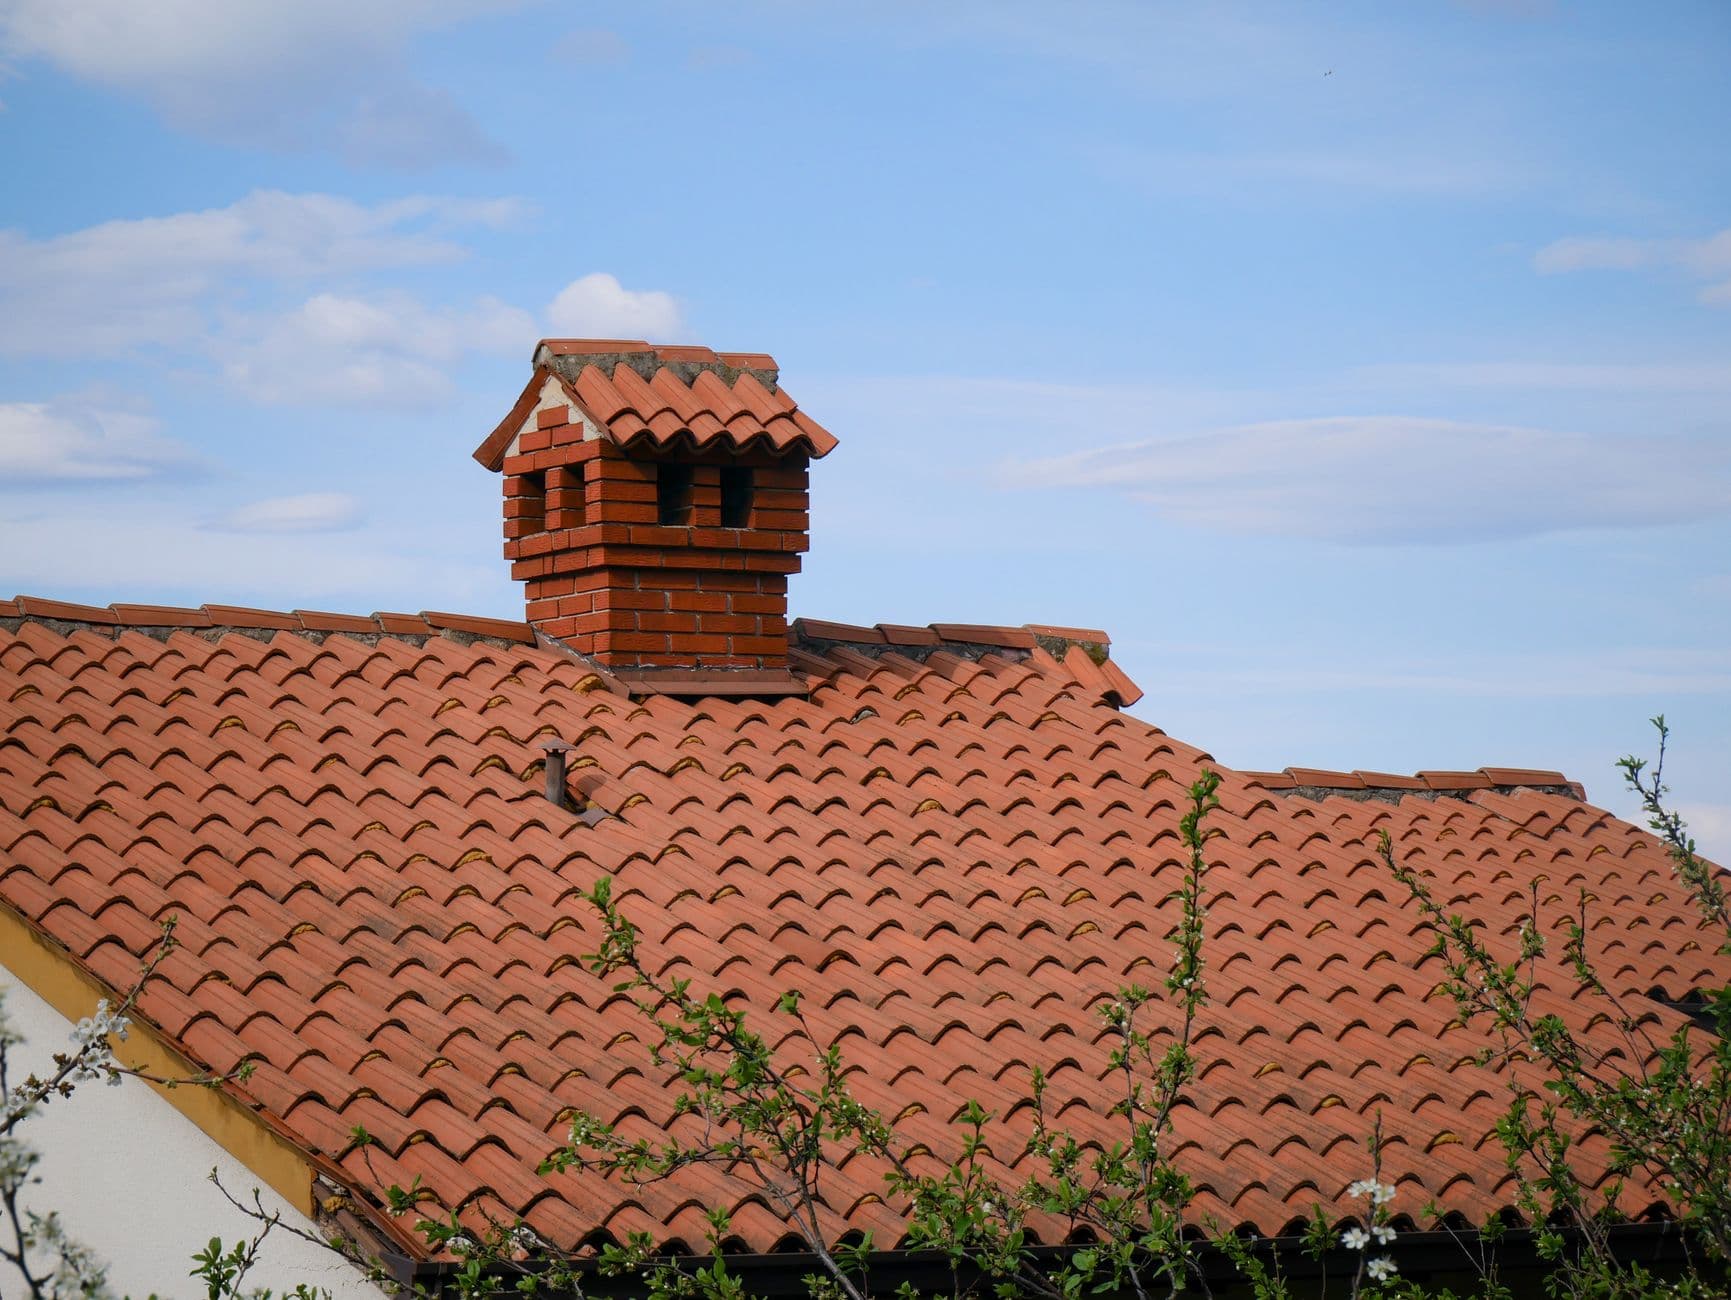
A chimney and a roof move differently. The roof is a frame of wood that swells, shrinks and flexes with heat and wind. The chimney is a heavy column of masonry that sits on its own foundation and barely moves at all, except in an earthquake. Where they meet, there has to be a joint that keeps water out while letting the two parts move a little against each other. That joint is the flashing, and it is the single most common place we find chimney leaks in Thousand Oaks.
It is also a joint that falls between trades. Roofers install roofs. Masons build chimneys. Flashing ties one to the other, and when it is done by someone who only thinks about one side, it tends to fail.
How It Is Supposed to Work
Proper chimney flashing has two layers, and each one has a separate job.
Step flashing is a set of short, L-shaped pieces of metal. One leg lies flat on the roof, under the roofing material, and the other turns up against the side of the chimney. Each piece overlaps the one below it, the same way shingles overlap, so water running down the roof is carried past the chimney and back out onto the roofing. Step flashing is not fastened to the chimney, which lets the roof move without tearing it.
Counter flashing, sometimes called cap flashing, covers the top edge of the step flashing. It is fastened to the chimney, not the roof. The right way to do it is to cut a groove, called a reglet, into a mortar joint, bend the top edge of the counter flashing into it and seal it there. Water running down the face of the brick then flows over the counter flashing and onto the step flashing below.
At the front of the chimney, on the downhill side, a single piece called the apron does the job of the step flashing. At the back, on the uphill side, a back pan or a cricket takes the water that runs down the roof into the chimney and turns it aside.
Where It Goes Wrong
When we pull apart a leaking flashing job, a few problems come up again and again.
- - Counter flashing glued to the brick face. Instead of being set into a reglet, the top edge is held on with a bead of sealant or a few masonry screws. Sun and heat crack that sealant within a few seasons, and water runs straight down behind it.
- One-piece flashing. A single long piece bent around the side of the chimney, instead of separate step pieces, cannot move with the roof. It tears or pulls loose.
- No step flashing at all. Some chimneys are flashed with a band of metal that just sits on top of the roofing, sealed with caulk. It holds until the caulk fails.
- Missing or undersized cricket. On a wide chimney, water and leaves pile up against the uphill side. Without a cricket, that area stays wet and the flashing there fails first.
- Mixed metals. Some metals corrode when they touch each other in the presence of water. Copper flashing fastened with steel nails, for example, can corrode at the nail.
- Old roof, new flashing, or the other way round. Flashing that was reused when a roof was replaced, or new flashing tucked under worn roofing, rarely lasts.
Why Caulk Is Not a Repair
Sealant has a place in flashing work, mostly to seal the reglet where the counter flashing enters the mortar. As the main defence against water it does not last. Southern California sun is hard on it, and in an inland valley like the Conejo, summer roof temperatures climb high enough to bake and shrink it quickly. Each winter the rain finds the gaps. That is why a ceiling stain that was "fixed" with a tube of sealant so often returns the following year.
Tile Roofs Change the Details
Many Thousand Oaks homes have concrete or clay tile roofs. With tile, the tiles shed most of the water, but the real waterproofing is the underlayment beneath them. Flashing on a tile roof has to direct water onto that underlayment and into the channels that carry it down to the eaves. The tiles around the chimney have to be lifted carefully, and some will break, so matching replacements matter. A tile roof that is flashed only at the surface, with metal sitting on top of the tiles and caulk at the edges, is one of the most common leak sources we see.
What a Lasting Repair Looks Like
When we repair chimney flashing, the order is simple.
- - Lift the roofing around the chimney and remove the old flashing.
- Check and replace any rotted sheathing underneath. New metal over soft wood is a waste of good metal.
- Install a cricket on the uphill side if the chimney is wide enough to need one. Residential building codes generally call for one when the chimney is wider than 30 inches across the slope.
- Install new step flashing, woven into the roofing course by course, with the underlayment lapped correctly.
- Cut reglets into the mortar joints and install new counter flashing, sealed into the joints.
- Reset the roofing and check every lap.
If the mortar joints are too soft to hold a reglet, that is a masonry repair first, which our chimney masonry repair page covers. Flashing work is always quoted in writing after we have seen the roof, because the roof type and the amount of hidden damage both change the job.
When to Get It Looked At
Any stain near the chimney after rain is a reason to check the flashing. So is visible caulk that has cracked, metal that has lifted or rusted, or roofing work done recently around the chimney. If you are replacing your roof, it is worth having the chimney flashing replaced at the same time rather than reused, and having the chimney checked before the roofers start so any masonry repair happens first.
Our chimney flashing repair page has more on how we approach the job, and a Level 1 inspection at $52 is a reasonable first step if you are not sure where a leak is coming from.
Need Professional Chimney Service?
If something in this article sounds like your chimney, we can trace it from the stain to the source. Contact Alderwood Chimney Services today for expert service throughout the Ventura County service area.