Start Where You Saw It
Most chimney leak calls we take in Thousand Oaks begin the same way. A storm comes through, and a day or two later someone notices a brown or yellow ring on the ceiling near the fireplace. Sometimes it is paint lifting on the chimney breast, or a damp patch on the wall that dries and leaves a tide line. The first instinct is to call a roofer, and sometimes that is right. But the chimney is a common source, and the way to find out is to follow the water backwards, from the stain to the place it got in.
Water almost never travels straight down. It runs along framing, follows the slope of the roof deck, wicks through brick and drips off the lowest point it can find. So the stain is where the water ended up, not necessarily where it started. That is the first thing to understand, and it is why a patch of sealant smeared over the most obvious crack so often fails.
Step One: Read the Stain
Before going anywhere near the roof, we look closely at the stain itself and ask a few questions.
- - Where is it relative to the chimney? Right beside the chimney breast, a few feet away, or on the ceiling of the room above?
- How high is it? A stain at the ceiling line points one way, a damp patch halfway down the chimney breast points another.
- When does it appear? After every rain, only after heavy storms, or only when wind drives rain from one direction?
- How fast does it show? Within hours of the rain starting, or a day or two later?
A stain at the ceiling right beside the chimney that appears quickly in heavy rain is a strong sign of a flashing leak, where the roof meets the brick. A damp patch partway down the chimney breast that shows up a day or two after the storm, and lingers, is more often water soaking through the masonry itself. Water that appears inside the firebox points to the top of the chimney: no cap, a cracked crown or open joints in the flue.
Step Two: Go Into the Attic
If the chimney passes through an attic, that is the next stop, and it is often where the case gets solved. With a good light we look at the roof sheathing and rafters around the chimney. Dark staining, soft wood, rusty nail tips and old drip marks on the ceiling joists below tell us water has been coming in at the roof joint. The uphill side of the chimney is especially telling. Water running down the roof hits the back of the chimney and pools there, and if there is no cricket to divert it, the sheathing on that side is often the most damaged.
If the attic wood around the chimney is dry and sound, but the stain inside the house is real, the water is probably coming through the chimney rather than around it. That moves our attention to the masonry, the crown and the flue.
Step Three: The Roof
On the roof, we work through each part of the chimney that can let water in.
The flashing. We check that the step flashing along the sides is intact and lapped correctly, that the counter flashing is let into the mortar joints of the brick rather than simply glued or screwed to the face, and that the front apron is lying flat. Caulk that has cracked and pulled away is a sign that someone tried to fix a flashing problem from the surface.
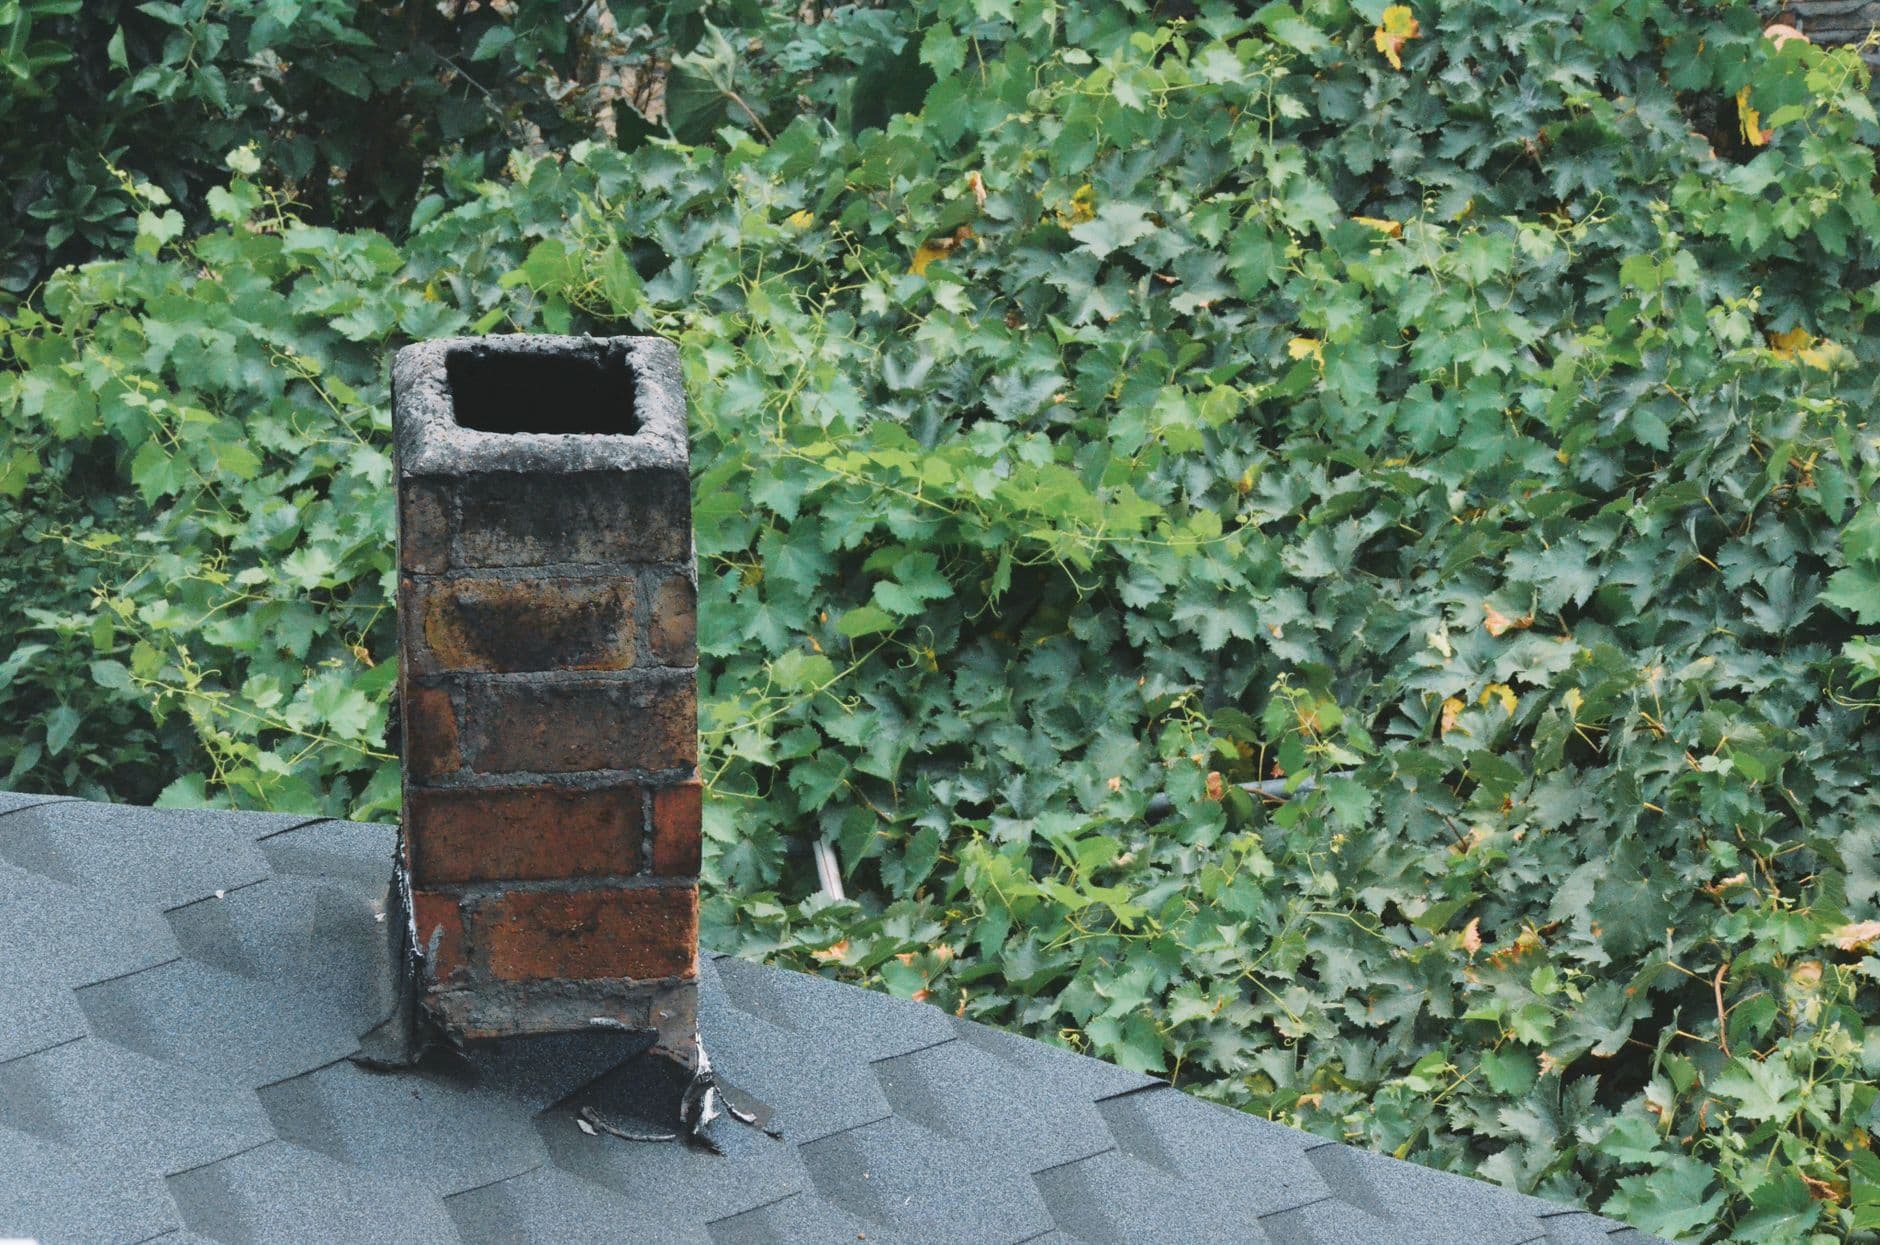
The crown. The slab at the top of the chimney should be sloped, unbroken and overhanging the brick. Cracks through it let water straight into the chimney's core.
The cap. No cap means rain falls straight into the flue. A rusted or damaged cap is nearly as bad.
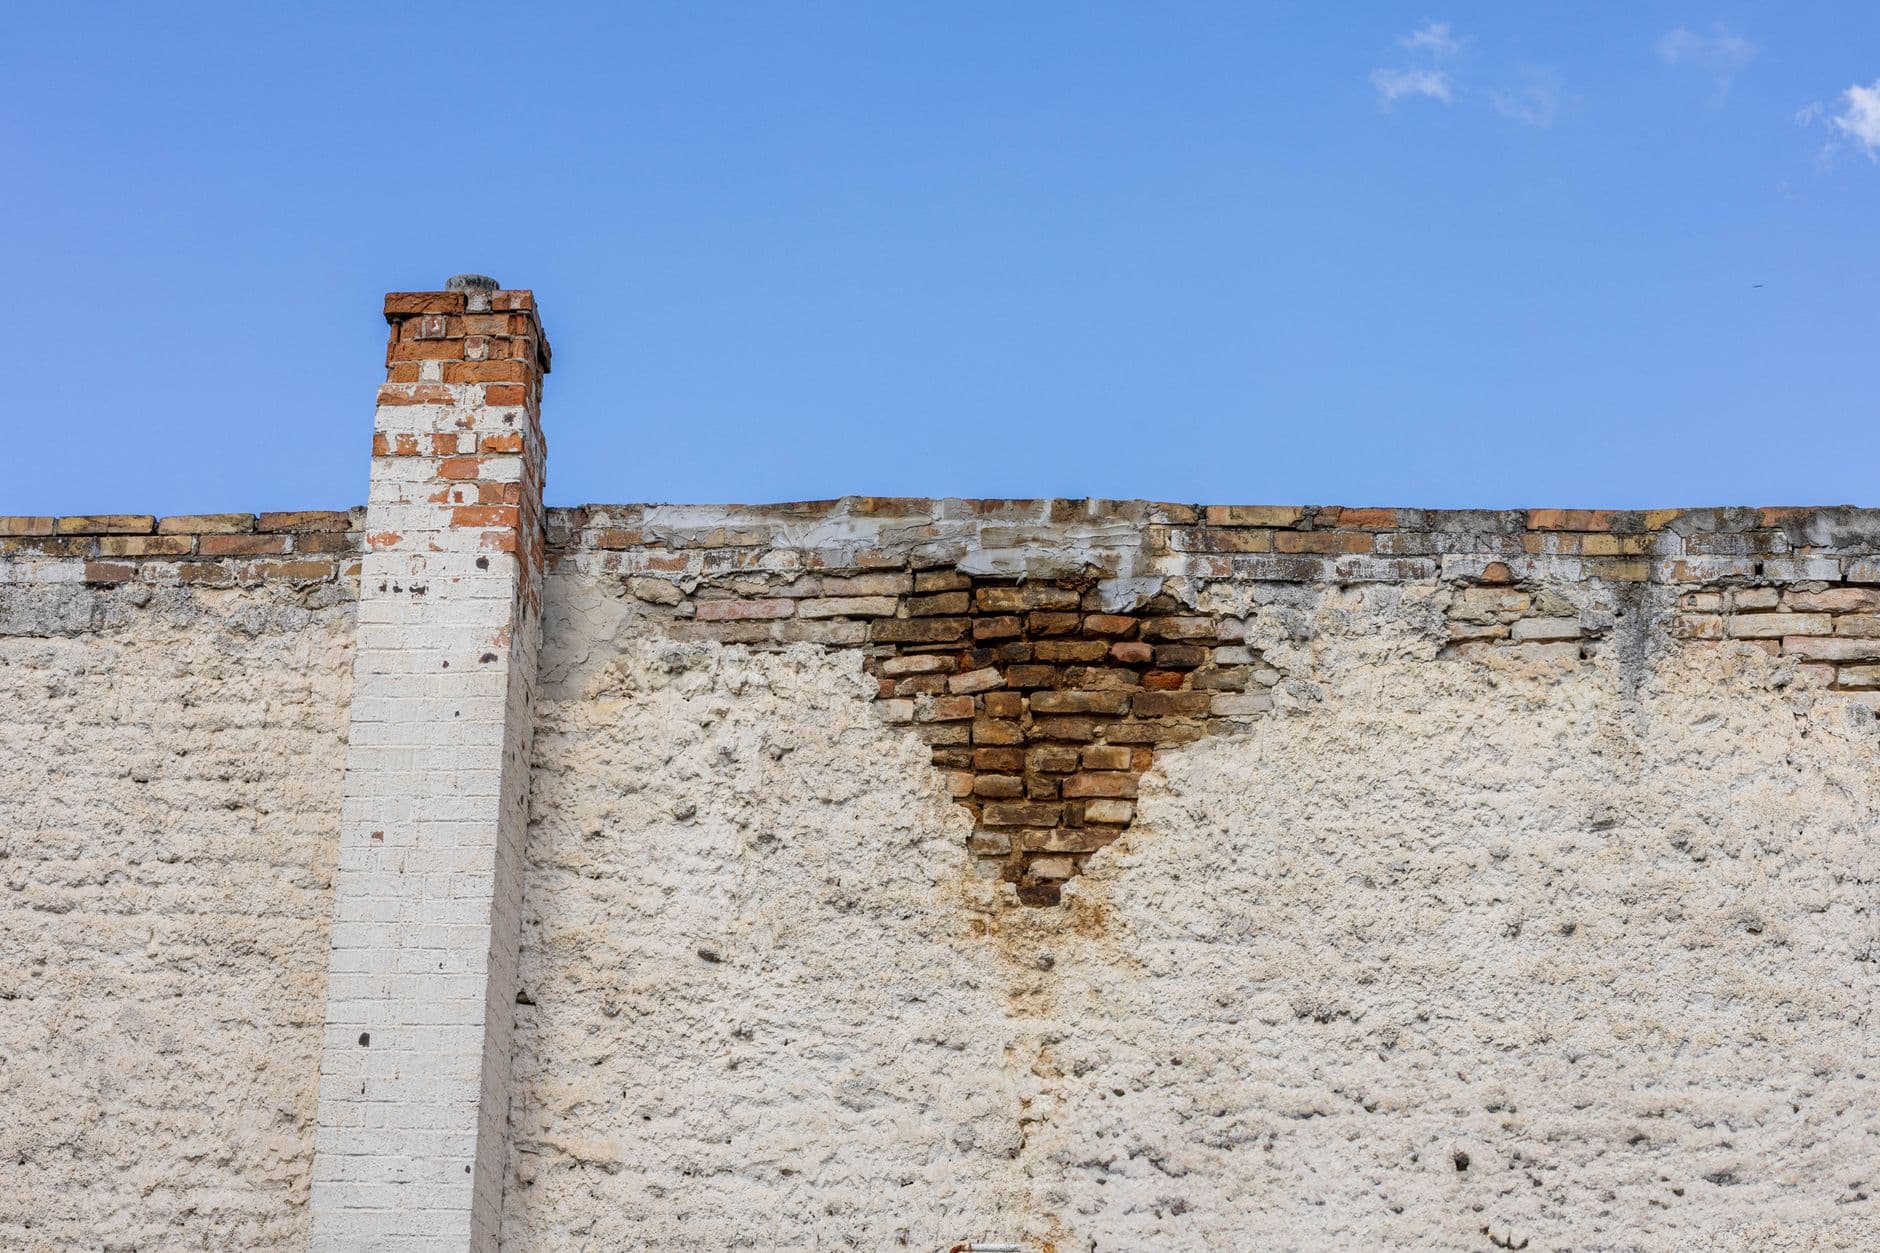
The brick and mortar. Open joints, spalled brick faces and white salt deposits show where water is moving through the masonry.
On many homes in Thousand Oaks, Newbury Park and Westlake Village the roof is concrete or clay tile, which adds a layer to the job. The waterproofing on a tile roof is the underlayment beneath the tiles, so we also look at how the flashing ties into that layer.
Step Four: Test, If Needed
Sometimes the cause is obvious from the roof. Sometimes there are two or three suspects. In that case we run water on the chimney in stages, with someone watching inside. We start low, at the flashing on the downhill side, then move to the sides, the uphill side, the brick faces and finally the crown and cap. Each zone gets enough time to show a leak before we move up. It is slow, but it means the repair goes to the right place. Testing in the dry season, which in Ventura County is most of the year, also lets us confirm a repair before the rains arrive.
What the Answer Usually Turns Out to Be
After a lot of these investigations, the pattern is fairly consistent.
| Where you see it | Most likely source |
|---|---|
| Ceiling right beside the chimney | Flashing at the roof joint |
| Wet attic sheathing on the uphill side | Missing cricket or failed back flashing |
| Damp patch partway down the chimney breast | Saturated brick or a cracked crown |
| Water or rust in the firebox | Missing cap, cracked crown or flue joints |
| Stain far from the chimney | Probably the roof, not the chimney |
That last row matters. When the evidence points away from the chimney, we say so and describe what we found, so your roofer can start in the right place instead of beginning from scratch.
Fixing the Source, Then the Stain
Once the entry point is known, the repair order follows. Stop the water first: chimney flashing repair, chimney cap installation or crown work. Then deal with any damaged sheathing, drywall or masonry. Painting over a ceiling stain before the source is fixed only hides the evidence until the next storm brings it back. Use a stain-blocking primer once the area is fully dry, otherwise the brown ring bleeds through new paint.
If you have a stain near your chimney, take a photo of it, note the date and the weather, and keep an eye on whether it grows. That simple record helps a great deal when we arrive. Every investigation ends with a written report and photos, and any repair is quoted in writing before work is scheduled. A Level 1 chimney inspection with us is $52, and it is often enough to find the cause. You can book through our contact page.
Need Professional Chimney Service?
If something in this article sounds like your chimney, we can trace it from the stain to the source. Contact Alderwood Chimney Services today for expert service throughout the Ventura County service area.